# Setting Up Metamask For Callisto Network
## MetaMask Overview
MetaMask is an extension available for Chrome, Firefox, and Brave, which allows you to store, send and receive ETH and ERC20 tokens through your web browser. As Callisto Network is based on Ethereum, it is possible to use MetaMask to send and receive native Callisto coins and tokens.
This step-by-step tutorial will show you how to set up Metamask for Callisto Network.
## Requirements
To start, it is necessary to download and install MetaMask into your browser and create or import an Ethereum wallet.
### Download Metamask
* [Chrome](https://chrome.google.com/webstore/detail/nkbihfbeogaeaoehlefnkodbefgpgknn)
* [Firefox](https://addons.mozilla.org/en-US/firefox/addon/ether-metamask/)
* [Brave](https://chrome.google.com/webstore/detail/metamask/nkbihfbeogaeaoehlefnkodbefgpgknn?hl=en)
## Installing MetaMask
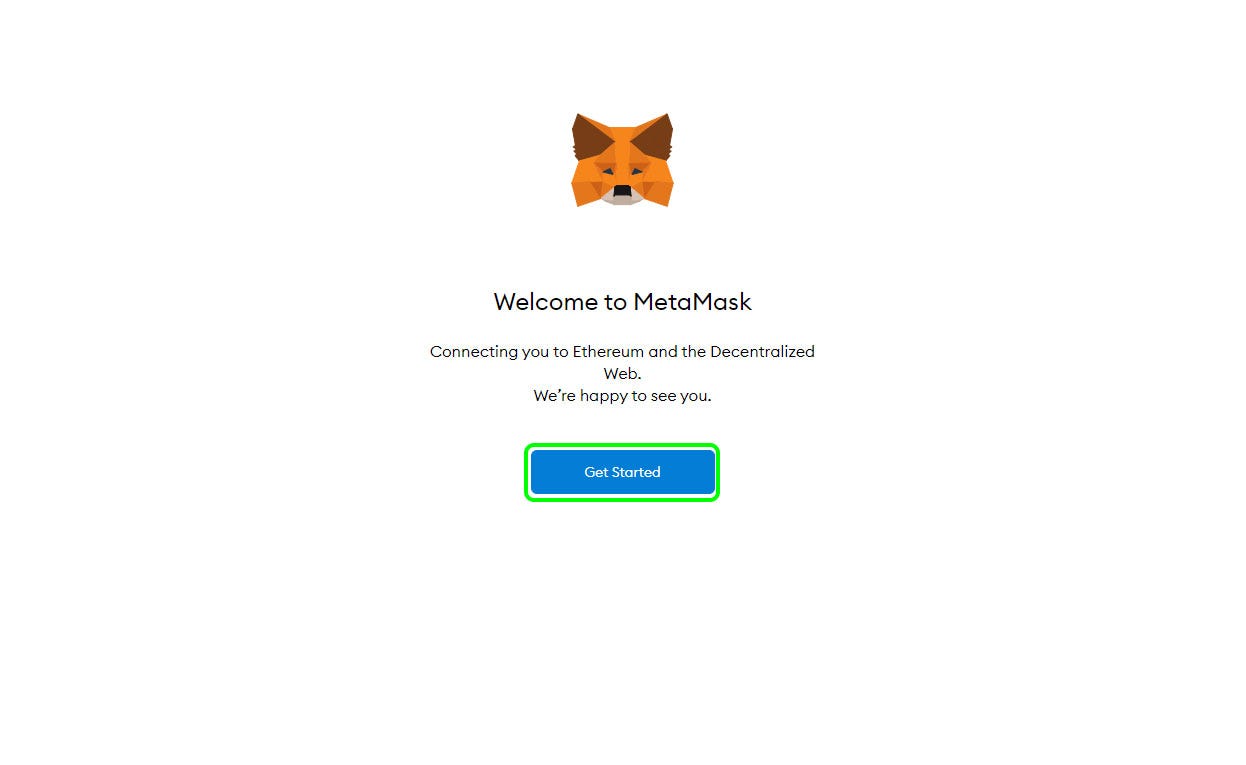
**1.** After Installing Metamask, a new tab opens in your browser. Click on **“ Get Started.”**
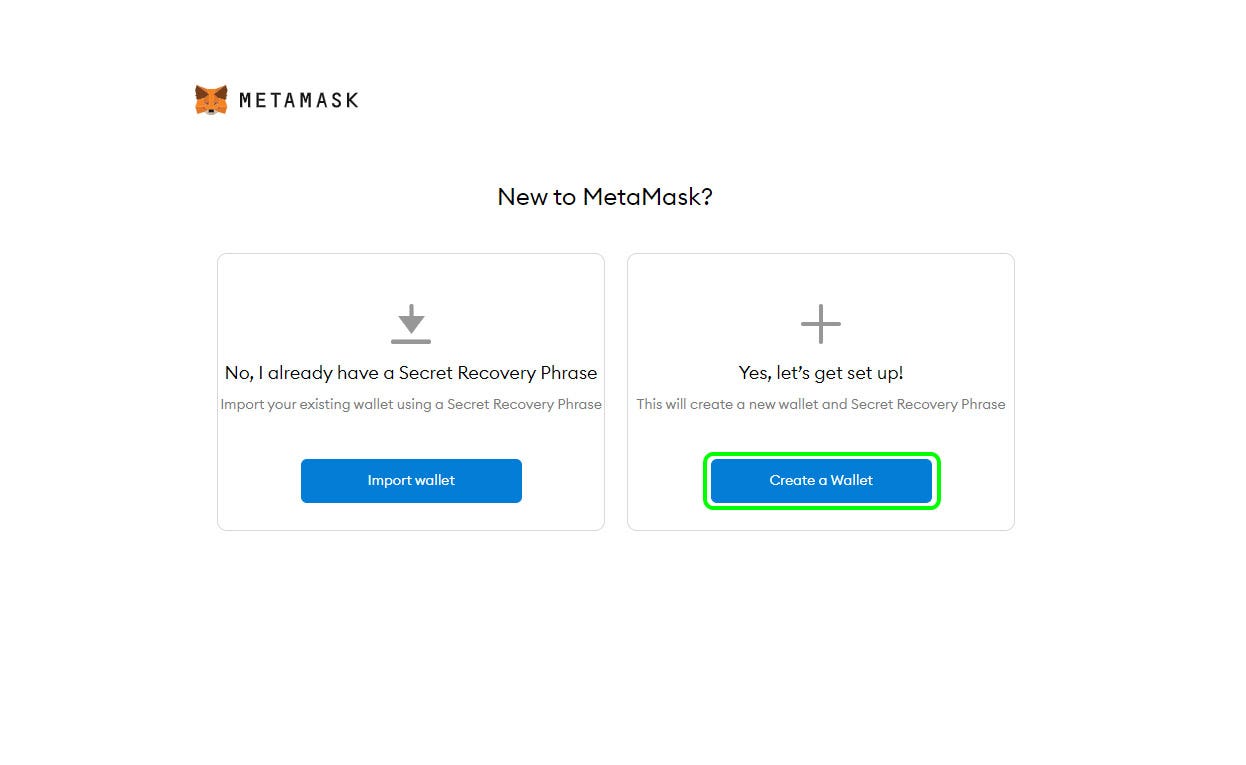
**2.** Here you have to choose if you want to create a new wallet or import an existing one. For this guide, we will create a new one by selecting **“ Create a Wallet.”**

**3.** You are asked if you would like to support Metamask by sharing some of your data. You can select **“No thanks”** or **“I agree”** depending on your preferences.
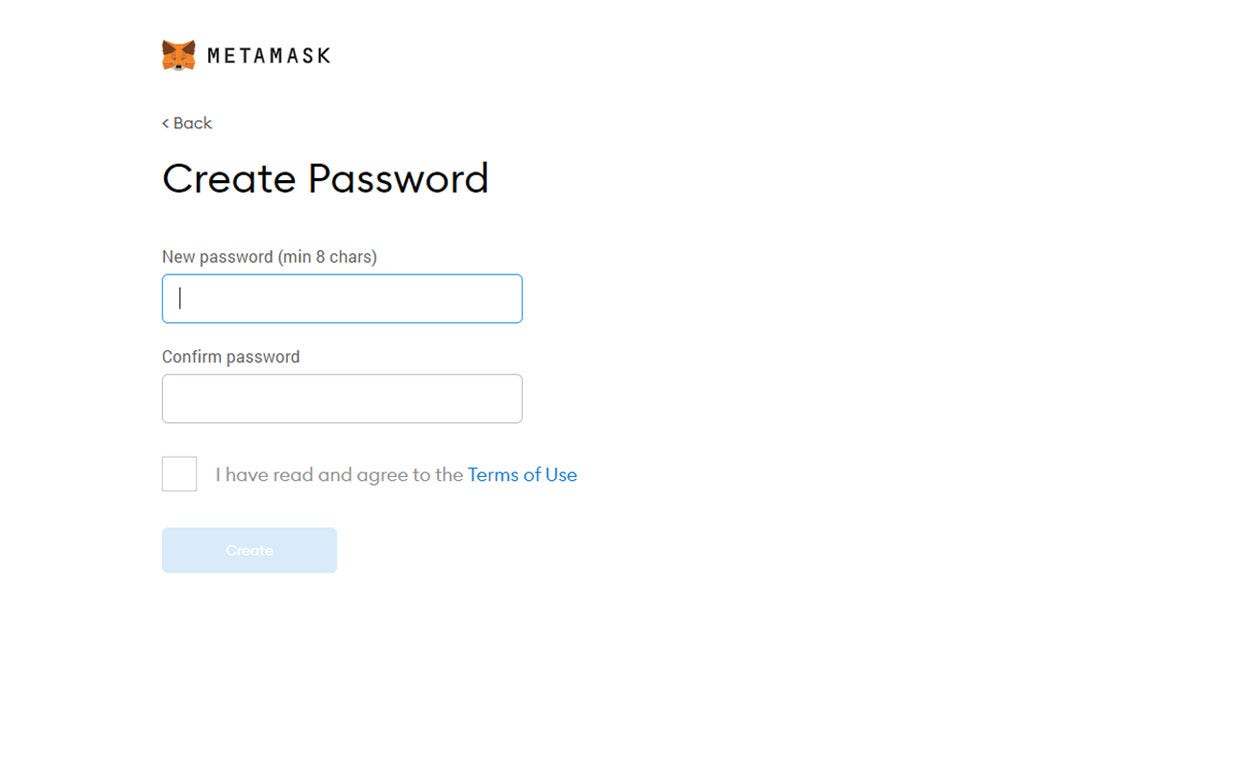
**4.** Enter a password, confirm it, and then check the box **“ I have read and agree to the Terms of Use”** and click on **“ Create.”**
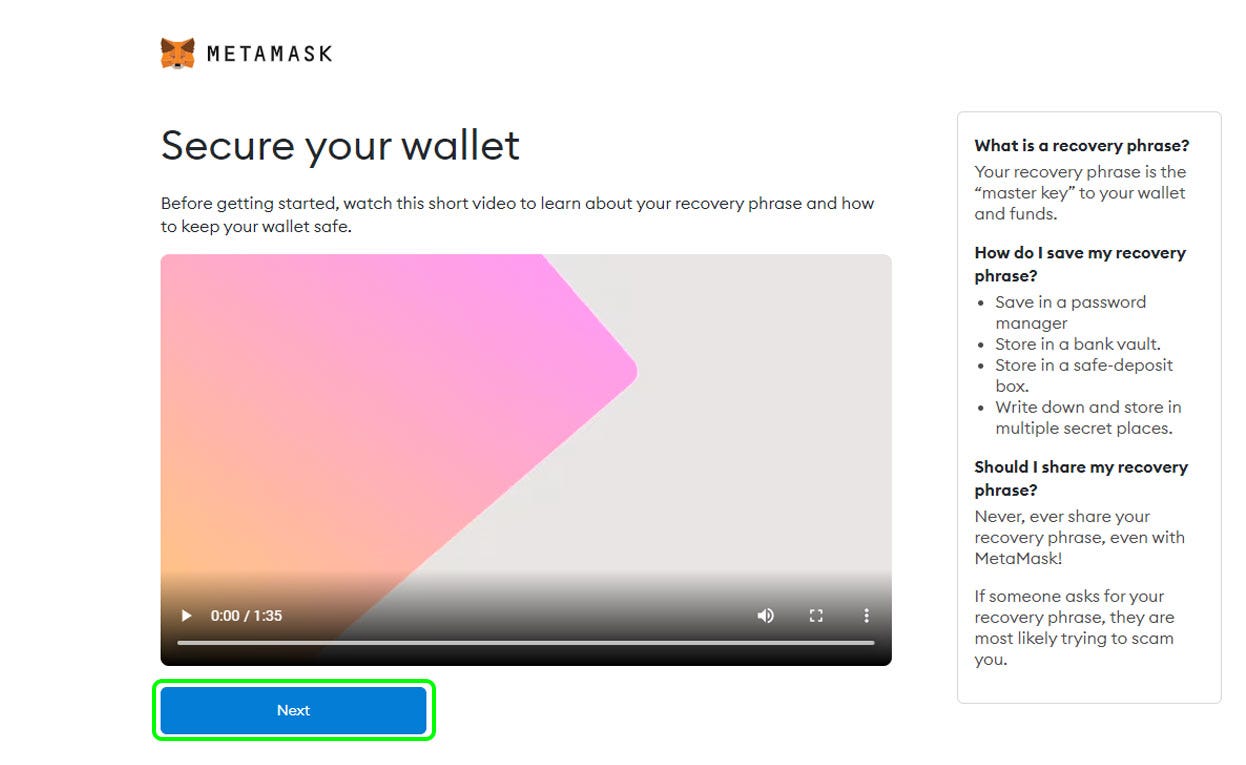
**5.** This step explains the importance of the recovery phrase and how you should save it. We encourage watching the video and following the recommendations carefully. Once you are done click on **“Next.”**
**Important**
* **Write your recovery phrase on paper and store it in a safe place.**
* **Never share your recovery phrase.**
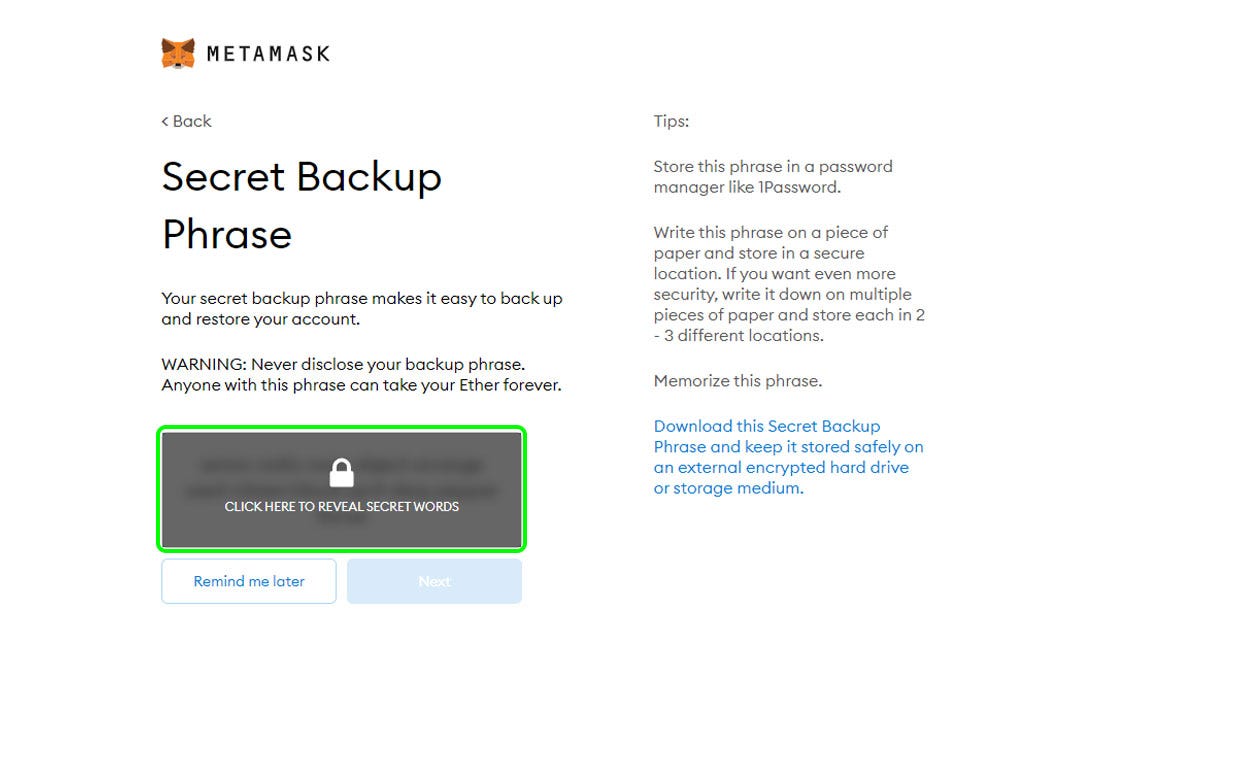
**6.** To reveal your recovery phrase, you must click on the gray rectangle, then proceed to the following step.

**7.** Carefully write down your recovery phrase on a piece of paper and click **“Next.”**
***Note:** This is probably the most important step of the guide, take your time and be very careful. In the next step, you will be asked to confirm your recovery phrase.*
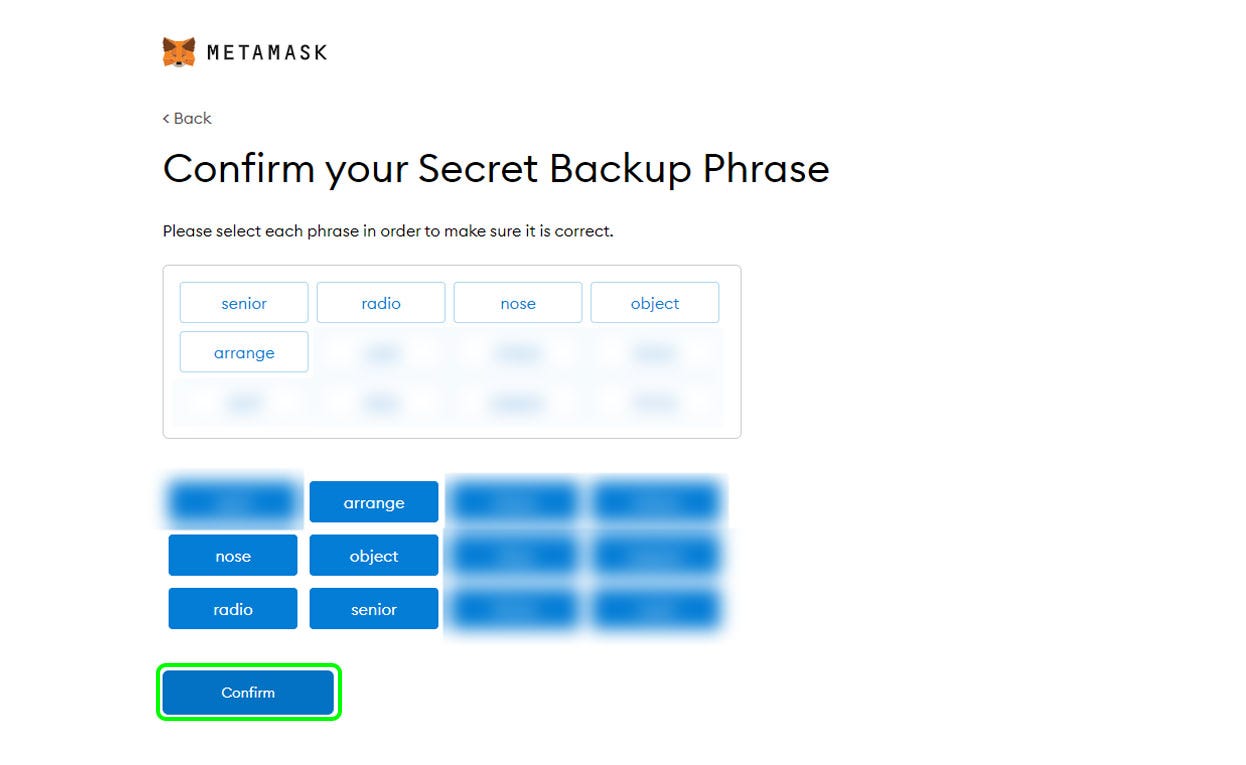
**8.** Confirm your recovery phrase by entering the words in the order you wrote them, and clicking on **“Confirm.”**
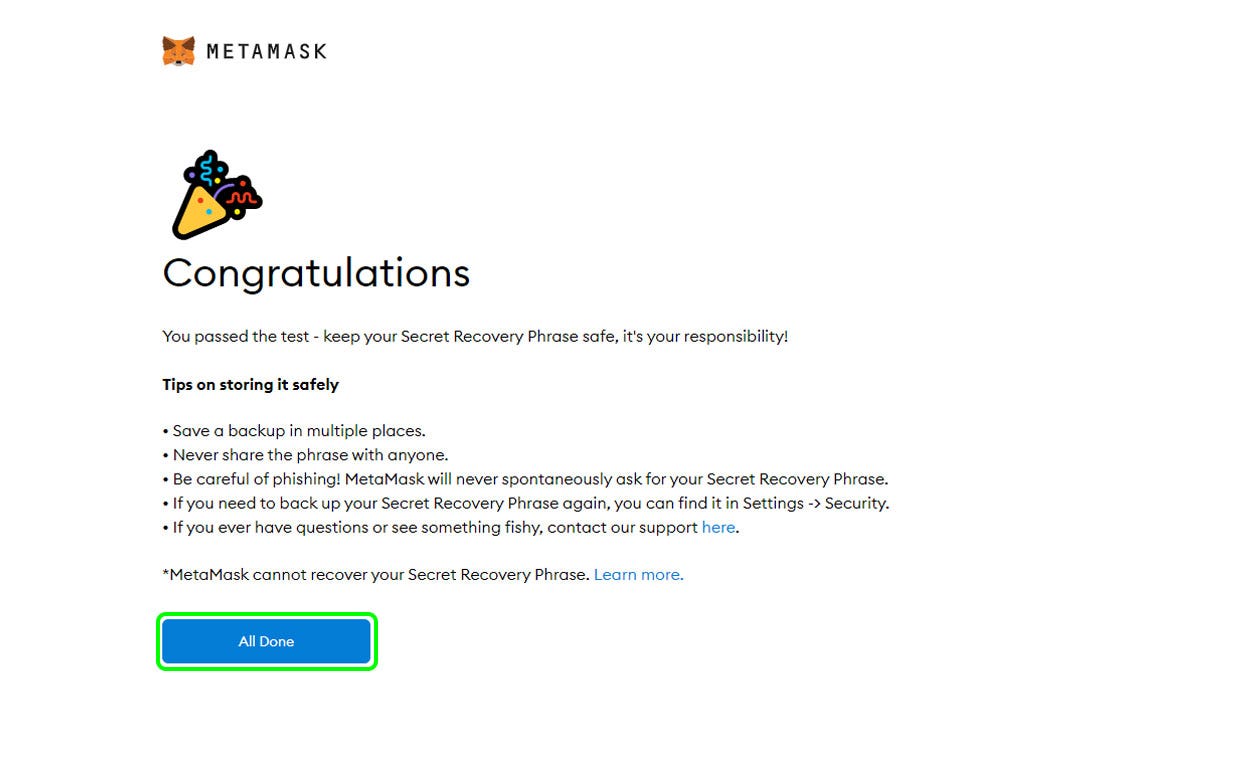
**9.** Congratulations, your Metamask wallet is set! Just click on **“All Done”** to close the setup window.
## Setting up MetaMask for Callisto Network
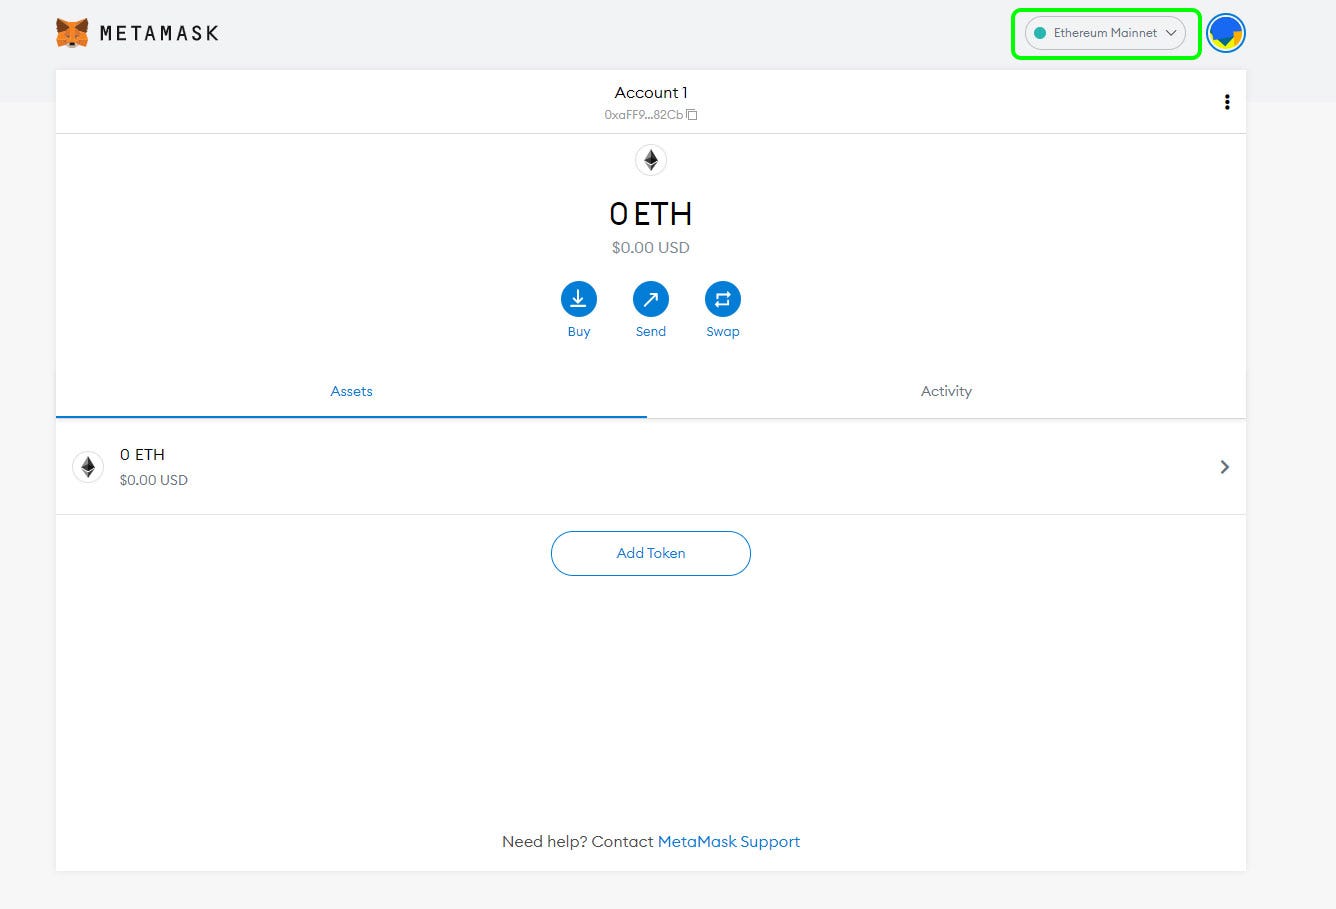
**1.** Click on the **“Networks”** menu at the top right.

**2.** Select **“Custom RPC.”**

**3.** Enter the following parameters, then press **“Save.”**
* Network Name: **Callisto Network**
* New RPC URL: [**https://rpc.callisto.network**](https://rpc.callisto.network)
* Chain ID: **820**
* Currency Symbol: **CLO**
* Block Explorer URL: [**https://explorer.callisto.network**](https://explorer.callisto.network/)

**4.** Your MetaMask wallet is now connected to Callisto Network!
## Receive First Coins in MetaMask
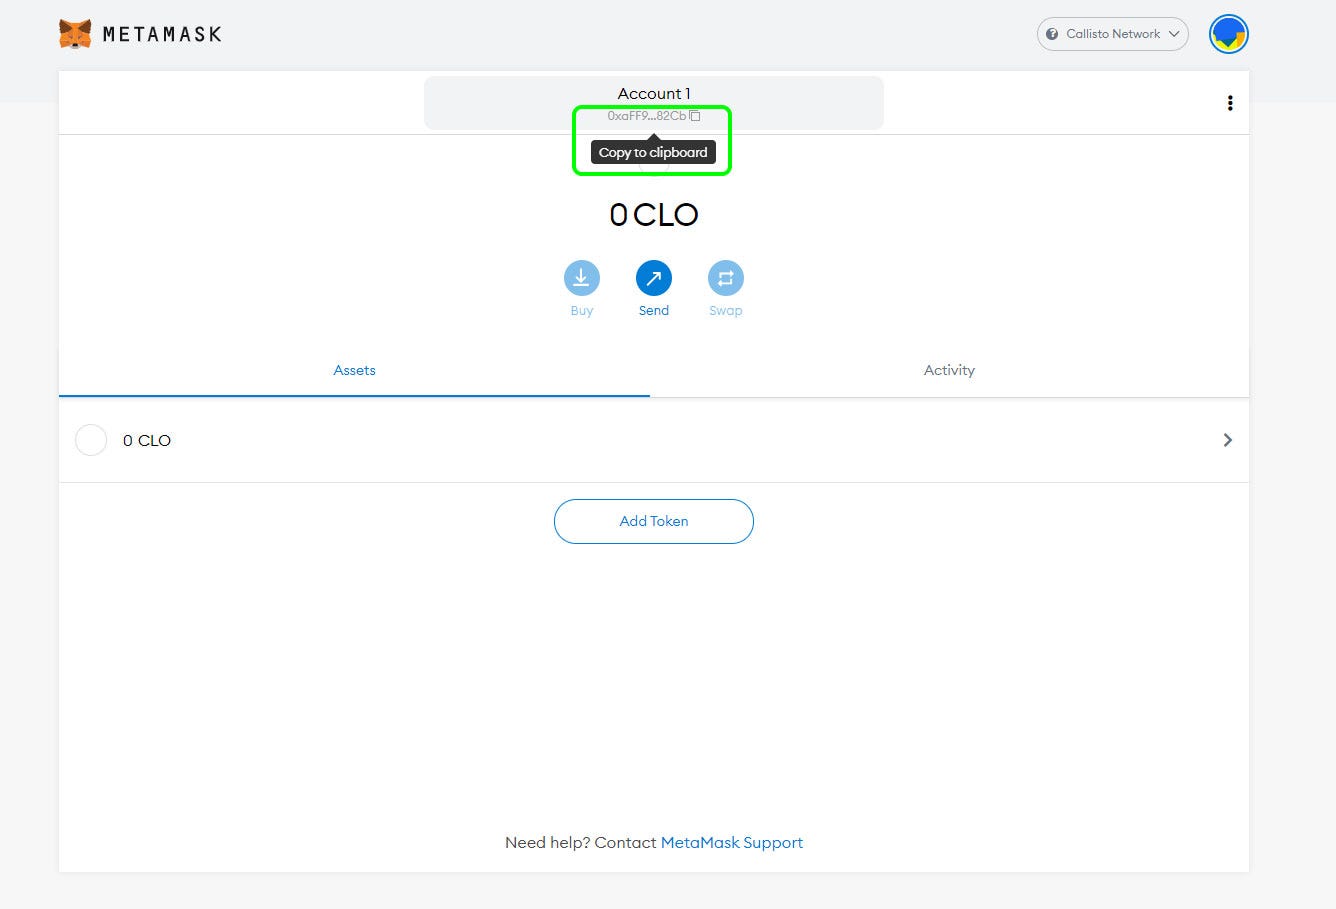
**1.** To transfer assets to your MetaMask wallet, copy the wallet address by clicking on it in the top center of the screen and go to your existing wallet or exchange to send funds.

**2.** Once the transaction is done, you will see your assets in your wallet!
{% hint style="info" %}
*Note: You can check the status of your transaction in* [*Callisto Network Explorer*](https://explorer.callisto.network/)*.*
{% endhint %}
### Observation
To make transactions on Callisto Network, it is necessary to have CLO coins to pay for the gas fee.
---
# Agent Instructions: Querying This Documentation
If you need additional information that is not directly available in this page, you can query the documentation dynamically by asking a question.
Perform an HTTP GET request on the current page URL with the `ask` query parameter:
```
GET https://docs.callisto.network/technologies/tutorials/setting-up-metamask-for-callisto-network.md?ask=
```
The question should be specific, self-contained, and written in natural language.
The response will contain a direct answer to the question and relevant excerpts and sources from the documentation.
Use this mechanism when the answer is not explicitly present in the current page, you need clarification or additional context, or you want to retrieve related documentation sections.
